Spicy Tips: The Perfect Chicken Noodle Soup

Spoiler Alert: Be prepared for the onslaught of chicken dishes!

When the fall season hits, I can’t think of anything better than busting out the Crock Pot and making dishes that assault your sense of smell when you return from work that day. Also, the house just feels warmer and more inviting that way. Trust me, there’s nothing better than after a long day of being on the phone with an insurance company to argue a client’s claim, to walk in and smell the love that your dish has been making while you were away. It’s a calming force.

So before I wax poetic on slow cooking, let’s get back to the topic. Namely, Chicken Noodle Soup. I know we all have a recipe that we follow. We all have our own tricks and tips that personalize how we create this cold-weather classic. And so I want to share a few of my own, as there are a few helpful suggestions to guarantee positive results.

 
1) Make sure to flavor your broth!

When you’re sick, Chicken Noodle is simply the best soup (in my opinion) that can bring you out of that non-hunger phase and nourish your soul. It has the protein from the chicken, the vitamins from the vegetables, the noodles to help fill you up, and most importantly: that nice salty broth to break through your temporarily altered taste buds. So while I love adding a healthy dose of poultry seasoning, don’t forget salt and pepper! There’s nothing worse than all those delicious elements in a bland broth. And taste as you go….I cannot stress that enough.


2) If you can, make your own stock.

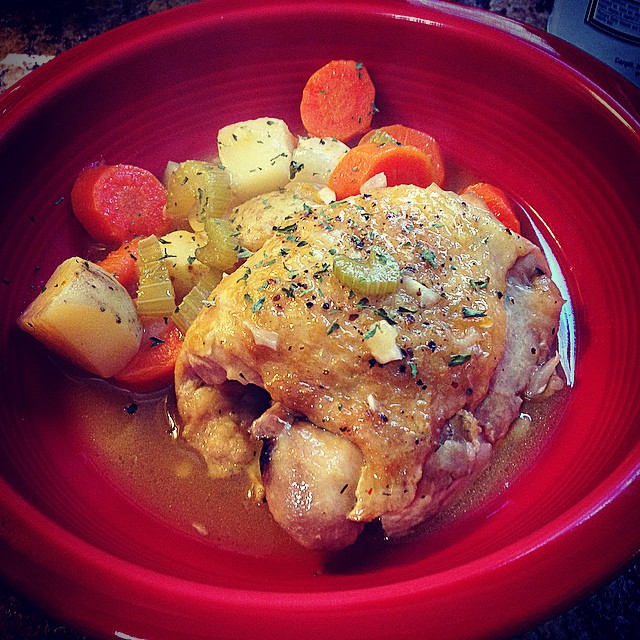
You can always buy chicken broth if you’re in a pinch, but I love making my own stock. When Matt & I purchase a whole chicken, we first roast it and eat the breast for dinner that night. Then, strip the meat off the chicken down to the bones, as the meat will be perfect for soup when you process and chop it. And in the Crock Pot, put that carcass in with enough water to cover the top of the bones, then lid on low and slow for 8-9 hours (and sometimes longer).

Once the carcass starts to fall apart in the stock, that’s a good sign. When done, remove the bones and my final move is to place a paper towel in the strainer and ladle in broth through that into a container. The stock will retain some fat, but this helps keep bone fragments out of your broth. Use a wooden spoon to push around the liquid to get it to strain. You may replace the paper towels a few times as eventually the fat will pool enough to where nothing gets through, but that’s okay. This is a messy (but rewarding) process. You get a clearer broth this way.


3) Saute your veggies before you put them in and make sure they’re fresh!

I keep my veggies standard: celery, onion, carrot. You can add fun ingredients like leeks or fennel, but I love the classics when it comes to chicken soup. Now, you can always just throw the veggies in raw and allow the slow cooking to do its magic, but I love getting a little bit of color on those veggies. You won’t necessarily get a bite of onion as it melts into the broth, but you will taste a hint of it. The carrots will practically melt in your mouth, as will the celery. You want to let them cook the longest in your broth.

So for the best result, a little bit of oil in a pan, saute for less than 5 minutes, and add the veggies first to the broth.


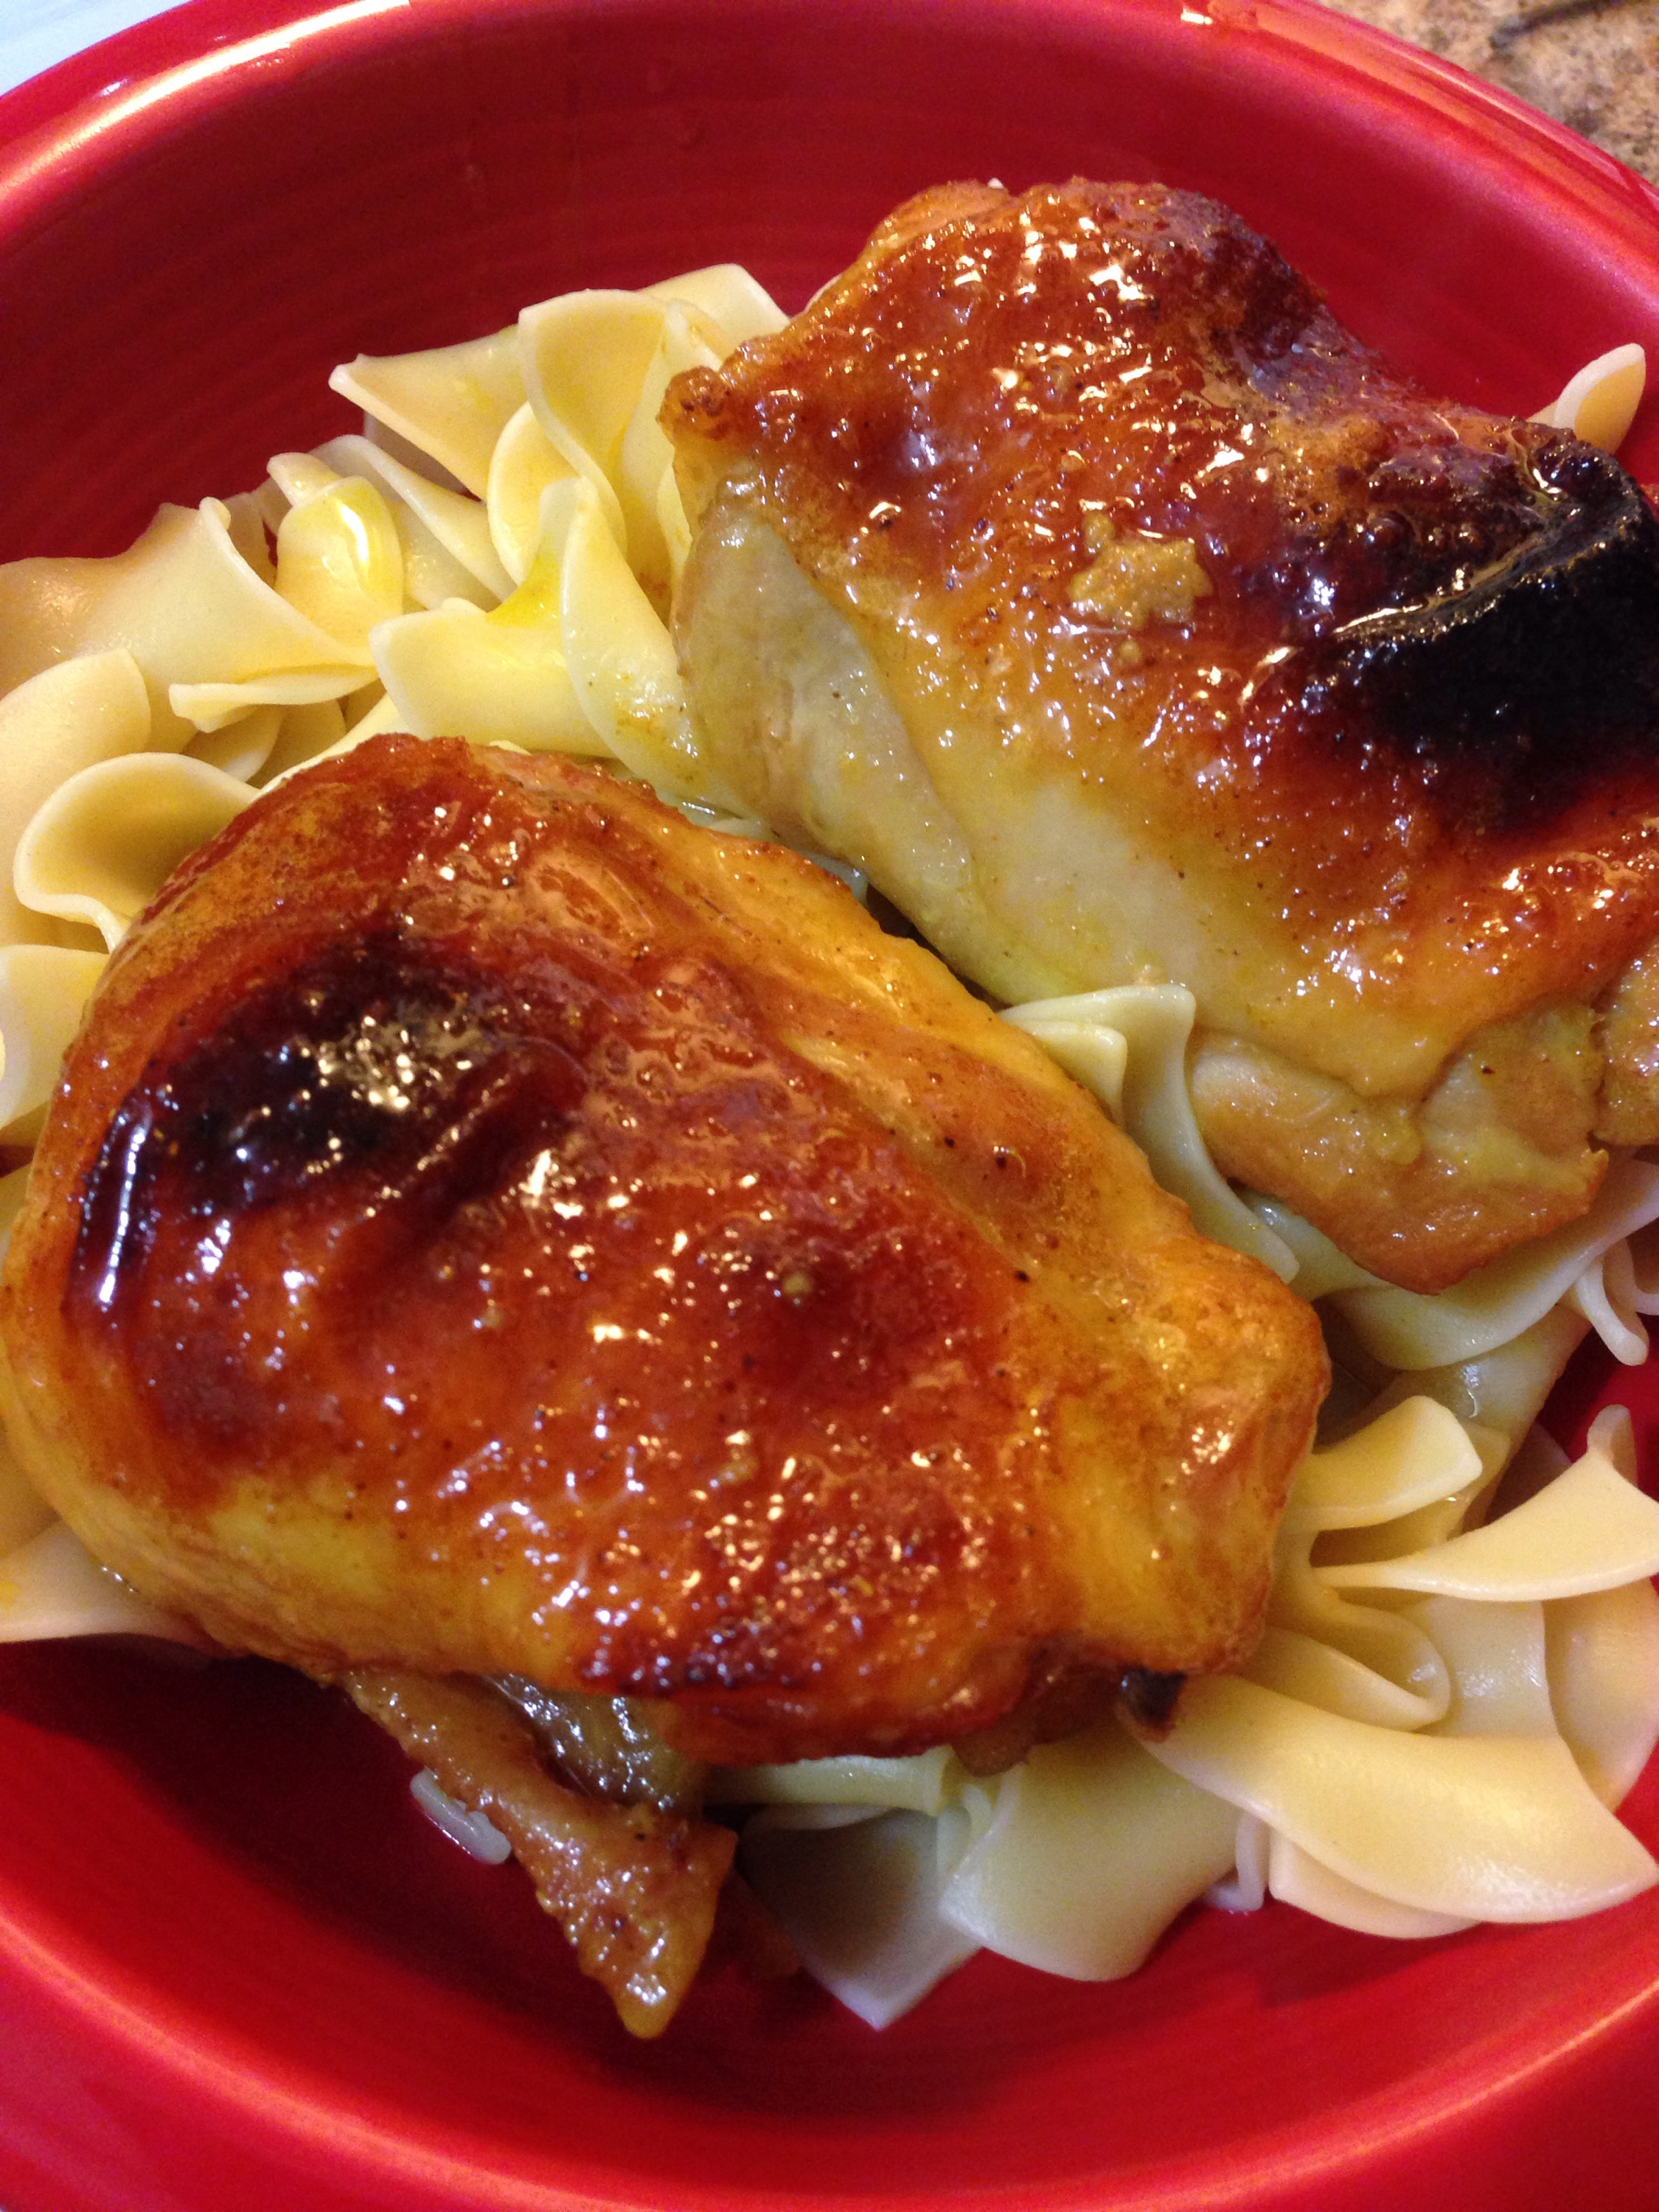
4) For best results, make the noodles separately (and keep them that way).

This is more a rule because Matt does not like soggy noodles. And it’s a good one! The noodles are always the final ingredient to add to the soup, because once they’re done the soup is done. And then once in the fridge, the noodles keep expanding the longer they sit. And instead of soup, you get this noodle dish with soup elements and minimal broth. So instead, I tried a new trick: I cooked the noodles alone, strained them, then placed them first in the bowl and ladled the soup over the top.

When I had to clean up and put the rest in the fridge, I made a decision to keep the noodles in a separate container. You get more control over the amount of noodles you want in your bowl, and the broth remains intact when you heat it up.


5) Low and slow is the best way to go!

I have forgotten the most important tip of all: the slow cooker is the best way to make Chicken Soup. Flavors are best when they have a chance to meet and meld for a while. You don’t want to rush this step and if you have the time, take it. The depth of flavor you can achieve from that low and slow technique is second to none.


And as always….enjoy!

– Jenny V

The greatest honey love of all….

A while ago I had posted about curry powder, which leads me right back to the recipe that required it first: honey chicken.

A few well-known facts about my honey chicken recipe:

It’s super easy to make. (I mean it. If you can master that curry powder recipe, then this will be a breeze, especially since the curry powder is a key ingredient in this dish. And if you need a refresher on the curry powder, then just click here.)

You need to be attentive to this dish. (Once you see the picture, you’ll understand why. You want that golden color with just a hint of browning when you bake it, so a lot of love and care goes into this meal. But again, it is easy so no worries. And when I mean easy, I mean super easy.)

My husband goes crazy for this dish every time I make it. (It’s one of the few leftovers he’ll eat over and over again….and if you know Matt, he’s not a big leftovers kind of person.)

And the sauce that is created while baking? Yummy is an understatement. It’s gooey and buttery and sweet with a hint of salt. Trust me on this, if made right the outside looks sticky and sweet, but that salty savory bite is worth it. Also, the yummy factor applies when you add a side of mashed potatoes or possibly egg noodles too. (You need a carb or starchy side because honey chicken is a great “stick to your bones” type of dish.)

I love the way sweet ingredients can lend themselves to savory dishes….be adventurous and give them a try!

And yes, enjoy!

~Jenny V


Jenn’s Honey Chicken

1 package of chicken thighs, bone-in, fat slightly trimmed (if you’d prefer)

1 stick unsalted butter, melted

1/2 cup honey

1 teaspoon curry powder (refer to my Curry Powder recipe)

1 teaspoon salt

1/4 cup yellow mustard

Directions:

1) Pre-heat oven to 350 degrees.

2) In large baking dish, place chicken thighs, skin side up.

3) In large measuring cup or small bowl, combine remaining ingredients and whisk until mixed, then pour mixture over chicken evenly. Make sure to coat each piece.

4) Bake for 75-90 minutes, basting thighs in mixture every 15 minutes. When skin looks golden and starts to take on a deep brown color on most of the pieces, remove and serve.


Even chicken can get a little “sloppy”

When it comes to new recipes, I always find simpler is better. When I first started cooking with Matt, he taught me that food doesn’t need to have a million different ingredients in it to be good. But that doesn’t mean it still can’t be absolutely delicious!

Lately, I have been gravitating more towards ground chicken. Why? Because it’s on sale and there is nothing better than a great deal on a delicious meat product, especially chicken! (And because the price of boneless chicken breast makes me want to cry sometimes….how can it be almost $20 for one package of chicken?!?)

But ground chicken is a great alternative! And at first, like the turkey burgers, Matt and I made chicken burgers….which are delicious and require plenty of cook time (because hello, salmonella is just not something we want to deal with.) Yet ground meat in a patty form can get kinda boring if you keep doing the same thing over and over, so I sought a new way to treat the ground chicken and came up with…..sloppy joes!

The recipe I located was easy, minimal ingredients, and the prep time was relatively fast. (I forget where I found it, but rest assured that this recipe will have you feeling less pressure at dinnertime and result in happy bellies.) Now it does contain onion and green pepper,(Matt’s least favorite pepper of all – seriously, for a man who loves the hot peppers, it took a little bit of convincing, not much, to get him into the idea of trying the recipe to the letter); fortunately, this dish was such a hit that Matt even told me the days of chicken burgers are over….he wants this dish again, green peppers and all!

Maybe next time Matt and I will put our homemade barbecue sauce and fresh rolls to the test on this recipe and truly make it all homemade….until then, I suggest trying this one out and adding a side dish of coleslaw! (As you will see by the picture below, I can assure you, my dear reader, this meal lasted less than 10 minutes. It’s that good!)

The best lesson: never be afraid to try other ground meats. Really, beef is great and all, but poultry can be just as delicious and (for those who are super aware of their health) much leaner.

Enjoy!

~ Jenny V


Chicken Sloppy Joes

Ingredients:

1 lb. ground chicken

1 medium onion, chopped

1 green pepper (small-medium), chopped

3/4 cup barbecue sauce

Salt and pepper to taste

Hamburger rolls

Directions:

1) In a medium saute pan on medium-high heat, pour a little oil on the bottom to cover. Once heated, throw in chopped peppers first to soften, stirring frequently.

2) After a few minutes of allowing the peppers to cook, throw in the onion and cook for 2 minutes, allowing time for it to soften.

3) After another few minutes, add ground chicken and stir mixture frequently until chicken is cooked through. (Depending on how thick you want the sauce, if you prefer a thinner sauce mixture do not drain the juices in the pan, as they will help you thin out the sauce.)

4) Turn heat to low, add barbecue sauce and stir until mixture is well coated. Turn off heat and serve on rolls. Should make about 4-6 sandwiches.

When in Doubt….just stuff it!

Being busy, I haven’t always had time to sit and write about the latest recipe/concoction. (Thanks multiple jobs/friends I am getting to see post-wedding madness!) That doesn’t mean I haven’t been cooking….quite the contrary!

But that is neither here nor there and so….let’s talk about chicken breast. Matt & I don’t necessarily prefer cooking with chicken breast, mainly because there’s such a small window to perfection on it. (And unless it’s on sale, it’s not worth spending an exorbitant amount of money to have it in the house.) It can becomes time-consuming to prep (which is why I have my husband filet the breast….something I have yet to even try perfecting. He makes it look sooooooo easy!) And unlike it’s counterpart, dark meat, chicken breast is prone to drying out very quickly. So whenever we have it in our fridge (because sometimes the sale is just too good to pass up), we get creative.

Stir-fry, homemade chicken nuggets, and our personal favorite, Chicken Cordon Bleu, are just a few of the ways that we prepare the breast other than seasoning and grilling it. But I’m bored of all our standards, so in true creative fashion….I took to the idea of stuffing the chicken with cheese and broccoli! We had the ingredients, we had the time, and we were also adventurous enough to think outside of how we normally prepare the elusive white meat.

Now I know it’s been done, but our version became so easy to make, complete with a Mornay sauce and some deep-fried bacon on top….do I even need to say more on how delicious this was? (Especially when there was nothing left?!?)

And just a quick tip: if you deep-fry bacon, partially cook it first. Also, if you deep-fry the whole package of bacon and have leftovers….make bacon bits with it! Homemade bacon bits are delicious…..trust me on this.

Meals don’t always have to be the same-old standard. If you’re willing to get a little daring and try a variation on a recipe that you’ve made before….DO IT.

Enjoy!

~ Jenny V


stuffedchickenwbacon


Jenn’s Stuffed Chicken Breast

Ingredients:

3 large chicken breasts, butterflied and pounded thin

1/2 package frozen chopped broccoli (slightly thawed so you can break it apart to stuff chicken)

1 to 1 1/4 cup shredded cheese (depending on how much cheesiness you like!)

Bread Crumbs (optional)

Egg (optional)

Salt

Pepper

For the Sauce:

1 tablespoon flour

1 tablespoon butter

Nutmeg

1 1/4 cup milk

Parmesan Cheese

For the “garnish”:

6 pieces partially cooked bacon


1) Pre-heat the oven to 350 degrees and with filleted chicken breasts, lay them flat on a baking pan. Lightly salt and pepper the inside, then take the partially thawed broccoli and shredded cheese, distributing them equally towards one side of the chicken breast. Roll, then tuck the sides in and arrange chicken breasts neatly in the baking pan. (Optional: you can baste with egg, then use bread crumb to sprinkle on the top.) Place in oven and bake for 45 minutes – 1 hour. Remove when done and let sit for 1-2 minutes.

***Helpful hint***: You can usually tell stuffed chicken breast is cooked through when the middle is bubbling out. It means the heat has gotten all the way through the meat and cooked it.

2) About 5 minutes before the chicken is done, turn on the deep fryer on high to warm for the bacon (or pan to finish cooking bacon through….you want that garnish crispy!)

3) While the fryer is warming, in a small saucepan on medium heat, combine the butter and flour to create a roux, then add milk to the roux. Stir with a whisk to incorporate. Add a few pinches of nutmeg (trust me, a little goes a LONG way here) and when the sauce starts to bubble a little, add the parmesan cheese to thicken it up. Stir, then remove from heat.

4) This garnish is optional, but once deep fryer is up to desired temperature, drop in the bacon for roughly 1 minute. Seriously, not long, because the bacon is already partially cooked and this will turn extra crispy extra quick. After about a minute, remove bacon and put on plate covered with paper towel to cool down and crisp up.

5) When plating, first put down the chicken, then ladle sauce (as much or as little as you’d like) over the chicken, topping with two pieces of bacon.

Ramen….not just a college food

Before I share today’s recipe, I want to preface this post with one important truth: my husband and I are not gourmet chefs. Sometimes we get a little less Jacques Pepin and a little more Sandra Lee, depending on time. (And if you watch cooking shows as much as we do, you’ll get the joke. If not, you need to Wikipedia both of these names immediately!)

I say this because while most food posts that I see use all fresh ingredients or lots of fancy items that seem more at home in a Chopped basket, Matt and I pride ourselves on being able to use ingredients we find on sale and throwing them together to create one delicious meal! Canned and/or frozen vegetables, store-bought chicken stock, dried spices, leftovers, etc. (But from time to time, we do try ingredients that should be in a Chopped basket….mainly out of curiosity.)

Which brings me to tonight’s tasty treat: ramen noodles. Now, for those of you who have either been a college student or looking for ways to eat on a budget, ramen is your best friend. And especially on a late night of studying where Easy Mac is just not cutting it, ramen was perfect. Yet I enjoyed dressing up my ramen a little bit, especially with a little bit of egg and some sage & thyme. But what most don’t realize about ramen, it makes for great noodles in chicken soup! (Not to mention, one of those flavor packets can definitely be a bonus if you’re looking to add a little bit of flavor in a pinch! With a big batch of soup, one packet will not cram what feels like a metric ton of sodium into your meal.) And if you have leftover chicken (like we did from our braised chicken on Sunday) and a little bit of the liquid that the chicken was cooked in (like we did), then making a quick and easy chicken soup can be accomplished! And no worries if you don’t save the residual cooking liquid….you can always use chicken broth and seasonings to accomplish a similar effect.

This is not my slow-cooker recipe (which I may share at a later date, because once winter gets here, lots of meals end up being made in the Crock Pot, even homemade chicken stock), but rather a quick recipe for those of us who work all day and need to figure out dinner. (And with Matt and I immersed in hectic work schedules, if a meal takes longer than an hour or two, frustration and hunger is going to set in. Never a good combination.)

You can create this dish any way you like, maybe you like more veggies and less noodles, maybe more chicken, maybe different spices….just don’t be afraid to dress up ramen noodles! They’re an inexpensive find at the supermarket and a great reason to use leftovers! So here’s our version, a chicken soup concoction that made my husband tell me it’s the “best soup he’s ever had”.

Enjoy!

~ Jenny V


ramen

Jenn’s “Grown-Up” Ramen Chicken Soup

3 packages Ramen Noodles, Chicken Flavor

2-4 cooked chicken thighs, skinned, de-boned, and diced

1-2 cups concentrated chicken stock (preferably liquid you cooked the chicken thighs in)

6-7 cups water (depending on how much you love broth, you can always add more)

One can mixed vegetables

One medium onion, diced

2-3 stalks celery, diced

1 tablespoon poultry seasoning

1 tablespoon sage

1 tablespoon thyme

Salt & pepper to taste

Butter

1) In a stockpot over medium-high heat, add chicken stock, water, poultry seasoning, sage, and thyme. After about 4-6 minutes, add diced chicken and give broth a stir.

2) In a separate saute pan, over medium-high heat, throw in 2 tablespoons of butter and allow to melt thoroughly. Once pan has had a chance to warm, throw in onion and celery, cooking until onions start to look translucent. And if needed and vegetables start to brown a little, add additional butter by the tablespoon until translucency is achieved. Once cooked, remove and add to soup mixture with can of vegetables. Turn heat on high and bring soup to a boil.

3) Take ramen noodle packets and roughly break up package. (I normally try to break them up, one break horizontally, one vertical.) Open package, remove flavor packet and add noodles to soup. Stir to submerge noodles in broth.

4) Check flavor of broth. If needed, add just one flavor packet from the noodles, then finish up with salt and pepper until desired flavor achieved. Once noodles are cooked through, turn off and serve!

Feel the Braise

When we received our cast iron Dutch Oven as a shower gift, Matt and I were not quite sure how to proceed with it….it’s heavy as hell! I mean, carrying that thing requires at least some weight-training, or a strong husband. But as we continue to use it, whether it be for cooking roasts, chili, turkey burgers, gravy for Sunday dinner (yes, gravy, Italians call it gravy), it has become our favorite toy in the kitchen….aside from the pasta press, but we’ll get to that later.

So today, as a change from our usual cooking methods for chicken thighs, I wanted to try them in the Dutch Oven, which brings us to braising. Now, for those who are not familiar, braising meat means that you use dry and wet methods of cooking. First you cook to sear in the juices, then in the oven it cooks in liquid.

Matt was on board with it, especially since he loves when I suggest new methods to cook our favorite foods. And the best part? Chicken thighs are dark meat, which means if you cook it longer, you won’t dry it out, due to its fattier content (never a bad thing, especially since that fat is jam-packed with flavor.) Now, the recipe I found had ingredients like fennel and red potatoes, so we varied it up a little bit and made this our recipe with the ingredients that we had in the house.

Feel free to change it up any way you like it, especially if you have a favorite veggie that you’ve worked with that cooks beautifully in the oven.

****And if you don’t have a dutch oven, use a deep pot, like a stockpot, and cover it with foil when you put it in the oven.****

Enjoy!

~ Jenny V


chicken

Braised Chicken Thighs a la Jenn & Matt

4-6 Chicken Thighs (you can trim the excess fat if you like, but not always necessary)

4 carrots, peeled and sliced

4-6 small potatoes, washed and cubed (we went with white potatoes, which gives a thinner sauce, but you can thicken it up with red potatoes)

1 medium onion, chopped

2-3 stalks celery, chopped

1-2 cloves of garlic, minced

1 can of chicken broth (a cup)

1/2 cup of Marsala cooking wine (any cooking wine you prefer will work, be creative!)

1 tablespoon thyme

dash of red pepper flakes

1 bay leaf

salt & pepper to taste

Olive oil

1) In the cast-iron, heat up 1 tablespoon olive oil on medium-high heat (closer to high, because you want a sear on the chicken)

2) Season the chicken thighs with salt and pepper on both sides, then place skin-side down in the cast iron first, browning them on both sides. Once browned, remove thighs and place on a plate.

3) Drain some of the fat from the cast-iron until only about a tablespoon remains, place back on heat and throw in the potatoes, onions, celery, and carrots first, cooking until they start to brown. When they start to brown, throw in the garlic. Cook until garlic browns.

4) Once garlic browns, add chicken broth, cooking wine, thyme, red pepper flakes, and bay leaf to the vegetables. Be sure to scrape the bottom of the pot for all that residual yummyness!

5) Place the chicken thighs on top in the cast-iron, keep on heat until liquid comes to a boil, then cover and place in oven at 350 degrees for 45 minutes to 1 hour.

6) Once it’s done, remove the bay leaf and serve with a little bit of the braising liquid over the chicken and the vegetables….yummy!