Causing a flurry with Chimichurri!

As promised, gardening has become a part of our daily routine.

At about 5:30/6:00 am just about every morning, Matt slips on his sandals to go out and assess how our garden is faring. From his perspective: the romaine is thriving, cucumbers are starting to show progress, tomatoes and peppers are sprouting up taller and taller, and the herbs are growing like weeds!

In fact, in recent weeks Matt pruned some of the wilder herbs in our garden and brought his bounty into work at the end of the school year to give it away. We even had to give away some of our basil plants just to keep up with being able to utilize them in our cooking. It seems we may have created an herb monster.

But never fear, as Matt & I have made more conscious efforts to look up recipes where we could utilize the abundance and indulge in healthy eats. Our first culprit: parsley.

Now most of us know parsley as that herb that garnishes a semi-fancy dinner plate we receive at the diner. And if you have ever tried it (like I have), you know that it has a little bit of a bitter flavor on its own. I never understood why such a bitter herb was placed as garnish on a plate. Was it supposed to be a palette cleanser after the meal? Was it supposed to be something to just pretty up a plate? (Seriously, you don’t need fancy garnishes–they better be there to serve a purpose.)

For years I questioned what parsley as the main stair was good for. (I would later find out that during the Roman Empire parsley was not considered a garnish but more of a breath freshener….I still don’t quite understand how a bitter herb freshens breath. Not like they have parsley-flavored toothpaste selling like crazy!) And when we had an overabundance of it in our garden, Matt took to trusty old YouTube to find good uses for our generous supply.

Entering as our first contender: Chimichurri Sauce.

Yes, chimichurri has variations, mainly where you can add cilantro and/or oregano. But for all intents and purposes, Matt & I utilized our parsley with some garlic, red pepper flake (VERY little, I might add), apple cider vinegar, lemon zest, and olive oil to provide some liquid to the mixture. We also got to utilize our Cuisinart Food Processor, which I consider one of the best brands in all things food processor. (If you’re looking, check out their selection here: Cuisinart – Food Processors.)

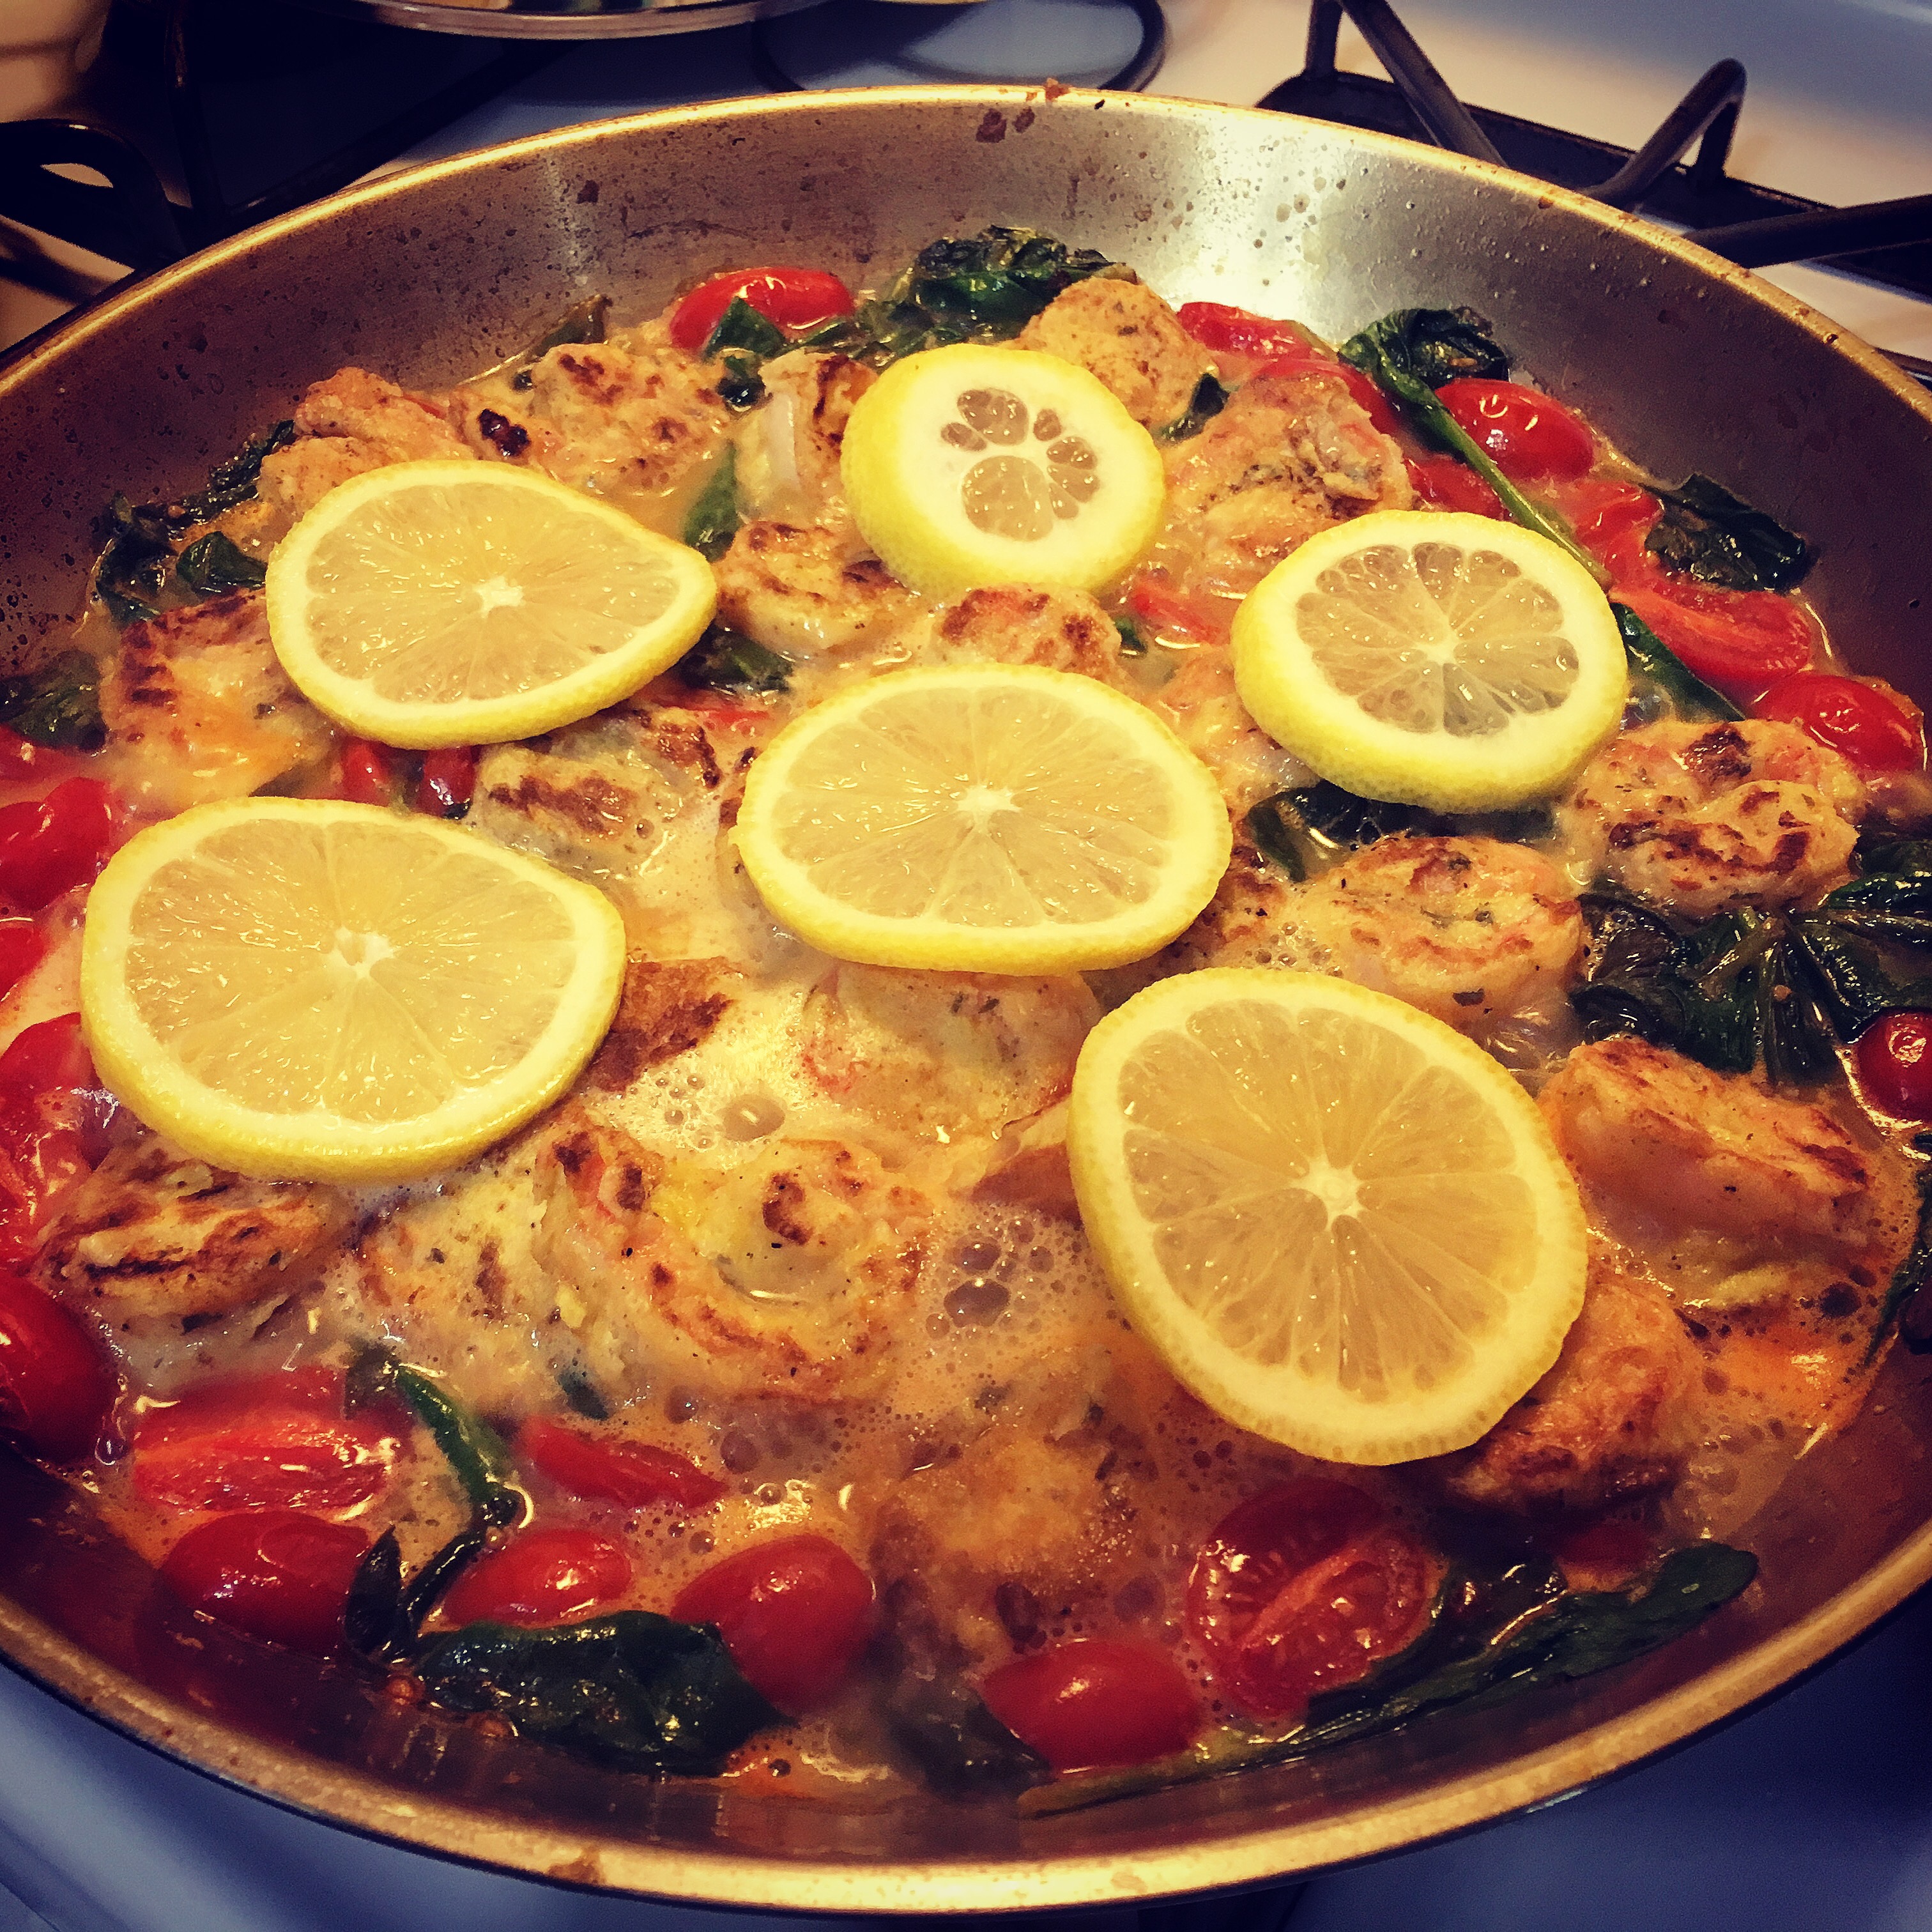
While chimichurri can be used on an abundance of meats and vegetables for some brightness and flavor, this sauce shines on steak (even leaner ones like sirloin). Cover your favorite cut of meat with some of this flavorful mixture, add in some mini roasted potatoes and holy yum….you have one incredible meal!

As you fire up your grills this summer, get bold and try some bright flavors to change up those tried and true warm-weather dishes.

And as always, enjoy!

– Jenny V

IMG_9172

Chimichurri

1/2 cup parsley (aka a generous handful)

1-2 cloves finely chopped garlic

2 Tbsp apple cider vinegar

Lemon Zest (one lemon)

Pinch of crushed red pepper

Olive Oil 

Salt & Pepper

1) Add all ingredients except olive oil, salt & pepper into food processor or blender. Pulse until well incorporated and transfer to small bowl.

2) Add in olive oil to wet mixture, then salt & pepper to taste.

Makes 2-4 Servings


Advertisement

Toddler Tips: Literally Lateral

While Maxwell is not what I would call a picky eater, his aversion to certain textures has limited some of the foods we can immediately introduce that he will eat.

If he doesn’t enjoy the food that he is eating, we get the immediate finger scrape of the tongue. Foods that have joined that phenomenon are mashed potatoes, meatloaf, homemade meatballs, fish sticks, and most recently: slushed ices & teriyaki chicken.

In the initial stages of teaching Max how to eat, we would mainly rely on the reports from his daycare. If he was eyeing another kid’s pancakes, then we made sure to get him pancakes at home and test them out there. (The Kellogg’s® Eggo® Minis Buttermilk Pancakes have now remained a staple for breakfast all week long….with butter and syrup added on weekends for an extra treat.)

20190527_125633762_iOS

Maxwell and his pancakes!

When he didn’t want to eat his puffs for snack time anymore, we introduced Gerber Lil’ Crunchies® – Mild Cheddar with yogurt. (I also highly recommend Stonyfield® Organic YoBaby® Yogurt as it provides that daily dose of probiotics for your little one.)

And when lunchtime got especially boring in texture with Gerber® Plastic Tubs mixed with Earth’s Best Organic® Infant Oatmeal Cereal, we introduced more table food to satisfy the palette.

Eventually Max started to come around on food in general, but this took a little finagling and some observation on how Max preferred to try new things. He would try something, not like it, then we would have to take a side-step in our process and get him to like another item related to that initial food to get him to take that next step. Once he got accustomed to the taste of that other item, we then gave him the initial food again with slight modification. Funnily enough: it worked!

The conclusion became clear: in order to introduce new foods that may not be the biggest hit, Matt & I would have to make lateral moves.

For example, Max initially HATED scrambled eggs. I am not exaggerating that we attempted at least a dozen times before changing our tactics to convince Max that scrambled eggs were delicious. When scrambled didn’t initially work we decided to try a different style of egg: fried with a little cheese on top.

The fried egg with cheese became such a hit! At our local deli there was a fall special for football season: $1.99 breakfast sandwiches on Saturdays & Sundays. We would buy three bacon, egg & cheese sandwiches and offer Max the egg on one while we each ate one sandwich and picked the bacon off the third one. Once Max showed he was comfortable with eggs, the next move would be to then try making scrambled eggs with cheese. Those dozen failed attempts are now a thing of the past as Max can now devour about 2 scrambled eggs on his own.

When it came time to start trying to convince Max that vegetables were delicious, we applied the same concept. First, we took notice that Max would gravitate toward eating fruit & vegetable pouches that contained spinach in them. That made trying spinach our task. Next, we decided that to introduce the real thing, we would need a vehicle like a favorite sauce or flavor to get Max to try it. With Chicken Francaise as one of Max’s favorite foods, Matt & I agreed that incorporating spinach into the francaise sauce was the best move. The end result: Max inhaled his entire serving of spinach with gusto.

And when ground beef was a tough sell, the move became to try another sandwich, like grilled cheese. When the grilled cheese was well accepted, we then made Max a burger patty and his first cheeseburger was quickly scarfed down. Well, he only ate about half of it in the first go, with the other half broken up for him to bring to daycare for lunch the following day. (He ate that too.)

The method worked for Max as he didn’t feel pressured to like a new food right away. We instead found clever ways to come back to once detested foods and make them some of his favorites!

So for those picky eaters, I suggest trying the lateral move:

  1. Have a goal for what you want your child to ultimately eat
  2. Take a side-step by observing what they do like, or formulate a different approach
  3. Once comfortable in that step, incorporate that goal

When children don’t like food that you have worked so hard on for just them, the feeling one gets from watching them spit out that food can be slightly soul-crushing. You just want what’s best, I know. But once you figure out what tactic entices your child to eat and experiment, go with it.

Not every child will be comfortable with the continual offering approach and some will try anything once and like it. I don’t claim to be an expert, just a parent who wants their son to open up to the possibility of expanding their culinary palette. If this tactic works for you, then kudos. If not, don’t get discouraged. You will find out what inspires your child to enjoy food.

Or you may just have a picky eater.

Kids can be funny like that.

And as always, enjoy!

– Jenny V


It’s a little bit butternutty….

While I did it for the sake of Max’s little tummy at the time, adjusting to a dairy and soy-free life wasn’t easy.

With the constant need to read ingredients the process of eating became more of a challenge, more like an Olympic sport! Every item placed in the cart at the grocery store was scanned for any mention of dairy and/or soy. (I recommend the ShopWell app….saved me many times over at the grocery store and you can adjust it for just about any type of dietary restrictions.) I had to advise every waitress when I went out to eat of my dietary restrictions, sometimes even reading over a menu several times before I walked into the restaurant.

I lived with the feeling that it must have been frustrating for the cooks in the kitchen to have to adjust my meal, just because I didn’t want my son to cry in pain from any dairy or soy in my food that would get transferred to his breast milk. This frustrated me to the point that I really didn’t want to eat out at all until Max was cleared or we stopped breastfeeding. (After about nine months, I was able to finally go back to normal when Max started eating solid foods and showed no reactions as I reintroduced dairy and soy into my diet.)

But aside from that I will admit: I had missed dairy on occasion. There were moments I wished I could have a big slice of cheesecake, a plate of buttery Yukon Gold mashed potatoes, or a big bowl of fettuccine alfredo. Sure, there were alternatives like the Daiya products to give me the feeling that I was eating cheese or ranch dressing. (By the way, their pizzas and macaroni & cheese were pretty decent for not having any gluten, dairy, or soy in them.)

More than anything though, I really missed a good pasta in a cream sauce. Fortunately, I was able to locate this gem of a recipe courtesy of Cookie + Kate, which used pureed butternut squash in vegetable broth to replicate that decadence one craves when you order anything in a cream sauce. (And another added bonus aside from being healthy for all you non-meat eaters: it’s Vegan!)

You can check out the recipe on the Cookie + Kate website here: Creamy Vegan Butternut Squash Linguine with Fried Sage. And if you’re not that big into linguine, I recommend using fettuccine as evidenced by the featured photo. It was a delicious substitution and I mean, who doesn’t love fettuccine in a cream sauce?

While I am not a vegan or vegetarian by any means, this dish at the very least satisfied my palette. With my diet back to normal, I would more than likely add some heavy cream and possibly some Parmesan to give it that extra kick of salt. Yet I learned that if you need to be healthy, healthy can be delicious.

And as always, enjoy!

– Jenny V

Francaise: Not just a chicken dish

While I am a healthy mix of nationalities (and according to my recent genealogy research a few I didn’t know about), I was practically raised by my dad’s side: mainly composed of English, German, and Italian family members. I can credit my family for being a key factor in my appreciation of food and cooking. And especially with Italian food, I have developed a rather particular palette. Because while I’m sure a good portion of the Italians I know would pick a tomato-based dish as their favorite, mine has always been and always will be Chicken Francaise. (Fortunately, the version of Francaise we made for this post does have tomato in it.)

In fact, I love Chicken Francaise so much that during my freshman year in college when the cafeteria had failed spectacularly in their attempt to make it (they added raisins and made it sweet….NEVER add raisins or make it sweet, it’s gross), I went home that weekend and asked my dad for an emergency dinner at one of our favorite Italian restaurants. I still shudder thinking of those raisins….I stress that they should NEVER be added to a savory, lemony dish…:::shudders:::…but I digress.

About three years ago, approximately April of 2013, Matt and I opted for takeout from our favorite local Italian joint. I remember the date because Matt encouraged me to order anything and everything from the menu for reasons unbeknownst to me. It was after the fact that he admitted that that was the day him and his mom were in a jewelry store picking out my engagement ring. That day in particular, I had a craving for Shrimp Francaise. I had tried the chicken, I had even tried a flounder version from one of our favorite seafood restaurants. But shrimp? Never.

Fast forward to a few years later, Matt and I decided to try making Shrimp Francaise to add some new dishes to our repertoire. The end result was a delicious lemony and buttery seafood dream, with some fresh sauteed spinach and cherry tomatoes that were bursting with flavor! Seriously, cooked cherry tomatoes–look into it and do it. And as for spinach, buy it fresh in bulk and you will yield many meals: a nice salad, a sandwich topping, and of course, cooked in Shrimp Francaise.

Fun plays on classic dishes are always a great way to spice up your culinary technique in the kitchen. This one is definitely a keeper.

Enjoy!

~ Jenny V


Jenn & Matt’s Shrimp Francaise 

1/2 lb. shrimp, cleaned & fully peeled

2 eggs, whisked

1 lemon, juiced

1 tablespoon lemon juice

1/2 lemon, sliced thin 

1 container cherry tomatoes

1-2 healthy handfuls fresh spinach

1/2 cup white cooking wine

1 cup chicken broth

1 – 1/2 cups flour

1 tablespoon flour

1 tablespoon butter

1-2 tablespoons paprika

1/2 teaspoon black pepper

Salt, to taste


Directions:

1) In a small bowl, mix in eggs and tablespoon of lemon juice. In a small pan, mix flour, paprika, and black pepper. Dredge each shrimp through flour mixture, then egg mixture. Place shrimp in pan over medium high heat with a little oil in pan. Brown on each side and let it cook almost all the way through, then remove from pan.

2) Into pan, add tablespoon of flour and butter to create a roux, then add white wine, chicken broth, squeezed lemon juice, and tomatoes. Before the tomatoes begin to burst, add the spinach and shrimp. Place lemon slices over top.

3) Cook until spinach begins to wilt and  tomatoes burst. Remove from heat, season with salt if desired, and serve over pasta.


Spicy Tips: Do It Yourself Taco Seasoning

If there is one dish that Matt loves to make (way more than I do), it would be tacos. So for the first time on my blog, here is a shared recipe from our cooking adventures that Matt has used for many years.

Normally it’s a dish that comes about when we are down to frozen meat or leftover chicken breast. Because it’s quick, easy, and utilizes ingredients we always tend to have on hand. On taco night, Matt also tends to eat about 7-10 tacos in one sitting…not even exaggerating.

When taco night arrives, Matt has crunchy tortilla shells on the ready, a fresh bottle of taco sauce in the fridge, and diced onion. And of course, if we don’t have shredded cheese, it’s not officially taco night. (For me, give me some soft tortillas, diced tomatoes, and sour cream and I am set! Maybe even some avocado if it’s in season.)

But the one thing you will find absent from our pantry? Pre-made taco seasoning. Because while yes, it may be easy to obtain pre-mixed seasoning in the store, you can absolutely make it yourself! The spices are fairly simple: cumin, chili powder, garlic powder, cayenne pepper (just a smidge), and a dash of paprika. You can also add a little salt and black pepper if you like, but there are so many other things going on with the dish, a little bit goes a long way.

This recipe is a rough guestimate of how much we use in the overall dish, but you can adjust to your liking. Naturally, measuring out spices in our home is not a common occurrence, instead opting for my Great-Grandmother’s method of adding until satisfied. More important though, even if eye-balling it, for the amount of cumin you add, put about half the amount of chili powder in it. You can always add more, but it’s a good rule of thumb.

But I promise you this: you will find this so easy that purchasing pre-mixed will be a thing of the past. It’s cheaper to keep those ingredients in your home and do it yourself. (Also, those spices can also go into other delicious dishes!)

There’s a satisfaction when you do it yourself. The reward is a dish you created more from scratch than anything else. Not every dish can be like that, but incorporating it anywhere you can? Healthy and delicious.

Enjoy!

– Jenny V


Jenn & Matt’s “Taco Night” Seasoning

2 tablespoons cumin 

1 tablespoon chili powder

1/2 teaspoon garlic powder

1/4 – 1/2 teaspoon cayenne pepper

A dash (or two) of paprika

Directions:

1) Combine all ingredients and use on 1 – 1  1/2 pounds cooked ground beef, shredded chicken, or any meat you prefer.

Giving potato salad a face-lift

When I think about making potato salad, it tends to make me break out in a sweat. Because while the finished product looks easy enough, just the notion that the potato needs to be perfectly cooked enough where a fork can go through it, but not crumble….is daunting. But Matt had faith in me this week as he played a double on Monday and left a request for potato salad on my plate. And I was not about to let him down in the slightest.

To make potato salad, red potatoes are truly the best one. They’re durable and you can pretty much leave the skin on them when you cut them into bite-sized pieces. Just make sure each potato is washed thoroughly and that any eyes or bad spots are removed. And especially since we needed to move the last of our red potatoes, it was a win-win.

Place your bite-sized pieces into a pot of cold water on high heat and let it come up to a boil. To check if they’re cooked through, try to locate the largest piece and stick a fork in it. If the fork goes through with ease, then they’re done. And if you’re nervous like me, after you check the potato, turn off the heat and let the potatoes sit in the hot water for a minute or two. Trust me, they’re still cooking when you do this.

Since our fridge was a little more barren of the essentials to make potato salad, I learned to get creative. This is quite typical in our home when making a multi-layered type salad. (Seriously, watch me make a garden salad or macaroni salad and you’ll understand.) I kinda think of it like a “hodge podge” dish, so to speak.

Because instead of yellow onions, I used the remainder of green onions that we had from our last shopping trip. Celery was replaced by fennel stalks. And for a little pop of color, some diced red bell pepper.

The only thing I think it’s missing? Hard-boiled egg. I may need to attempt this version sooner rather than later.

If you’re willing to get over your fears, it’s amazing what you can accomplish in the kitchen. Matt believes I don’t give myself enough credit. And with this potato salad recipe, I’m sort of inclined to believe him.

Enjoy!

~ Jenny V


Jenn’s “Hodge Podge” Potato Salad

6-7 medium red potatoes, cubed

1 1/2 cups mayonnaise

1 tablespoon white or cider vinegar

1 tablespoon yellow mustard

1 tablespoon honey dijon mustard

1 teaspoon salt

1/4 tablespoon pepper

2 fennel stalks, diced (you want about a cup)

1/2 diced red bell pepper

1/4 – 1/2 cup green onion, chopped

Paprika, if desired


Directions:

1) Place cubed potatoes in 3-quart pan in cold water. Cover and heat to boiling. Allow potatoes to continue cooking in boiling water until larger pieces of potato are soft enough to let a fork go through. Turn off heat and allow to sit in water another 1-2 minutes before draining thoroughly and placing in large bowl.

2) Mix mayonnaise, vinegar, mustards, salt, and pepper in a large measuring cup or bowl. Whisk until smooth.

3) Add fennel, green onion, and pepper to potato mixture. Add dressing and stir thoroughly to cover. Add sprinkle of paprika and continue mixing. Cover and refrigerate for 4 hours to overnight before serving.


Spicy Tips: Fried Chicken in a pinch!

So when it comes to foods that Matt and I have struggled with, fried chicken tops that list. I don’t know why we can’t manage a crispy outside with a thoroughly cooked inside, but it has been eluding us in every which way.

The first time we made buttermilk fried chicken, it was slightly disastrous. That crispy skin was absolutely perfect! But the inside? Practically raw. It devastated us a little to have to take the chicken and throw it in the oven to keep cooking. We were starving! I mean, what are mashed potatoes without that fried chicken? (Delicious, but just mashed potatoes.) After that, both of us vowed to keep trying.

The second time was slightly better, as we took the chicken thighs and fried them off, then finished them in the oven. The outside got a little too crispy, but at least we knew it was cooked through completely. (I think the next time we attempt this method, it will be for boneless chicken breast only.)

Any possibility of getting this recipe right seemed daunting….until both of us decided to try using our usual techniques of cooking chicken and apply them to making fried chicken. All in all….the third time was the charm and so I felt it was important to share with you, my trusty readers, our tips to make our version of fried chicken.

First of all….get the notion of trying to start from completely raw chicken out of your mind. It’s tricky to try and manage raw meat (especially poultry) if you’re wanting to fry it perfectly. You can always partially cook the chicken first (days in advance, if you’d like) and then marinate it in the buttermilk and hot sauce mixture for just a little longer than recommended to make sure that flavor is incorporated. (Just always remember to season the chicken before you partially cook it–if you can get simple salt and pepper on there, you’re good!)

Second….because buttermilk is not a commonly used item in our house, I tried a mixture of egg and milk with the hot sauce in its place. (To be honest, it had that nice creamy consistency that buttermilk has and these items are just a little bit easier to come by in your fridge. Just make sure you make enough of this mixture to cover the chicken thoroughly.)

Third….as always, don’t forget to add some spice to your flour! This is where you want to get that nice, crispy skin full of flavor (and a bit of bite.) So now is the time to toss in that Cayenne Pepper, red pepper flake (or if you’re us, ground red pepper flake), paprika, salt, black pepper, and any other seasoning that you absolutely love adding to your fried chicken batter!

Now, for those who are fried chicken purists and are probably cursing at me for explaining how to make a perfect fried chicken our way….just take a look at the finished product and tell me whether you can tell the difference:

It’s crunchy on the outside, juicy on the inside….and it didn’t last very long!

Enjoy!

~ Jenny V

Curry to the masses!

Now I adore spices….really, I do. I’m debating at some point to post pictures of our spice shelf in our pantry….my need for organization has those spices organized with powders on the right, loose leaves/roughly chopped spices on the left, and some random sauces/seasonings right in the middle that I can’t quite classify as either. (Of course, they get all mixed up when in a cooking frenzy and I begrudgingly and lovingly try to organize them back into some semblance of “nice and neat”…Matt pokes fun at my need to have a system.)

Spices elevate a meal in ways that I am only beginning to understand, in ways that salt and pepper just don’t quite cut it. It could be the aroma, it could be the way it incorporates with other ingredients, maybe even the coloring, I don’t care. While yes, simple salt and pepper are quite lovely for most meals, when it comes to curry powder….my mouth salivates at whatever gets to partake in that flavor.

I first came upon this curry powder mixture as part of another recipe, trying to find a new way to flavor up our chicken thighs. (And trust me, that recipe is soon to follow, because I could not imagine life without honey chicken!) At first, Matt wasn’t quite sure what to make of that dish, but that’s another story….back onto curry!

If you do enjoy having spice mixtures on hand, then this short and simple recipe shall be one that you will certainly adore. I know I do and have been methodically finding ways to incorporate it into more of our dishes….especially with grilling–now that is a delicious thought.

Enjoy!

~ Jenny V


Curry Powder

1/2 teaspoon turmeric

1 teaspoon cumin

1/2 teaspoon coriander

1/2 teaspoon chili powder

Directions:

1) In a small bowl or Tupperware container, combine all ingredients together until well mixed. Store in a cool, dry place.

2) Use on anything (and everything) that you feel could use a delicious, new flavor. And just know: a teaspoon will go a long way!

Feel the Braise

When we received our cast iron Dutch Oven as a shower gift, Matt and I were not quite sure how to proceed with it….it’s heavy as hell! I mean, carrying that thing requires at least some weight-training, or a strong husband. But as we continue to use it, whether it be for cooking roasts, chili, turkey burgers, gravy for Sunday dinner (yes, gravy, Italians call it gravy), it has become our favorite toy in the kitchen….aside from the pasta press, but we’ll get to that later.

So today, as a change from our usual cooking methods for chicken thighs, I wanted to try them in the Dutch Oven, which brings us to braising. Now, for those who are not familiar, braising meat means that you use dry and wet methods of cooking. First you cook to sear in the juices, then in the oven it cooks in liquid.

Matt was on board with it, especially since he loves when I suggest new methods to cook our favorite foods. And the best part? Chicken thighs are dark meat, which means if you cook it longer, you won’t dry it out, due to its fattier content (never a bad thing, especially since that fat is jam-packed with flavor.) Now, the recipe I found had ingredients like fennel and red potatoes, so we varied it up a little bit and made this our recipe with the ingredients that we had in the house.

Feel free to change it up any way you like it, especially if you have a favorite veggie that you’ve worked with that cooks beautifully in the oven.

****And if you don’t have a dutch oven, use a deep pot, like a stockpot, and cover it with foil when you put it in the oven.****

Enjoy!

~ Jenny V


chicken

Braised Chicken Thighs a la Jenn & Matt

4-6 Chicken Thighs (you can trim the excess fat if you like, but not always necessary)

4 carrots, peeled and sliced

4-6 small potatoes, washed and cubed (we went with white potatoes, which gives a thinner sauce, but you can thicken it up with red potatoes)

1 medium onion, chopped

2-3 stalks celery, chopped

1-2 cloves of garlic, minced

1 can of chicken broth (a cup)

1/2 cup of Marsala cooking wine (any cooking wine you prefer will work, be creative!)

1 tablespoon thyme

dash of red pepper flakes

1 bay leaf

salt & pepper to taste

Olive oil

1) In the cast-iron, heat up 1 tablespoon olive oil on medium-high heat (closer to high, because you want a sear on the chicken)

2) Season the chicken thighs with salt and pepper on both sides, then place skin-side down in the cast iron first, browning them on both sides. Once browned, remove thighs and place on a plate.

3) Drain some of the fat from the cast-iron until only about a tablespoon remains, place back on heat and throw in the potatoes, onions, celery, and carrots first, cooking until they start to brown. When they start to brown, throw in the garlic. Cook until garlic browns.

4) Once garlic browns, add chicken broth, cooking wine, thyme, red pepper flakes, and bay leaf to the vegetables. Be sure to scrape the bottom of the pot for all that residual yummyness!

5) Place the chicken thighs on top in the cast-iron, keep on heat until liquid comes to a boil, then cover and place in oven at 350 degrees for 45 minutes to 1 hour.

6) Once it’s done, remove the bay leaf and serve with a little bit of the braising liquid over the chicken and the vegetables….yummy!