Spicy Tips: Chocolate Up Those Muffins!

So as I posted in an earlier post, Matt has this deep love affair when I make Banana Chocolate Chip Muffins. It’s quite ridiculous, actually. If I make a dozen, they’re sure to be gone within 24-48 hours with no exceptions. Mind you, this is 12 muffins. TWELVE. I would be lucky if I get at least one to try and even then Matt jokes that I only left him less than a dozen.


As luck would have it one day, I had super ripe bananas sitting in the fridge. The cold tends to help keep the bananas in their ripe stasis. And while I would normally just make plain banana chocolate chip muffins, I decided to try out a little chocolate experiment. Now, I make these brownie cookies that are downright sinful (but absolutely delicious). To that recipe, I usually add cocoa powder to give the batter this great chocolaty consistency.


Since Matt already loves that my muffins have chocolate, why not use some cocoa powder and make them double chocolate banana muffins? When using cocoa powder, the easy way to incorporate it into a mix without drying out the muffin is to adjust the amount of flour. For example, my recipe calls for 1 1/2 cups flour. If i put in 1/4 cup cocoa powder (which I did), then you only use 1 1/4 cups flour. It’s really that simple.


The result ended in Matt mentioning how the cocoa powder took a little bit of the banana flavor away, but made it almost like a muffin/cupcake hybrid. I think my next cooking endeavor might be to add a cream cheese frosting to this. Or if I’m daring, possibly Rum Chata frosting could be an interesting twist.


For my original post about muffins so you can try out this recipe, click here: A muffin a day makes a happy husband!


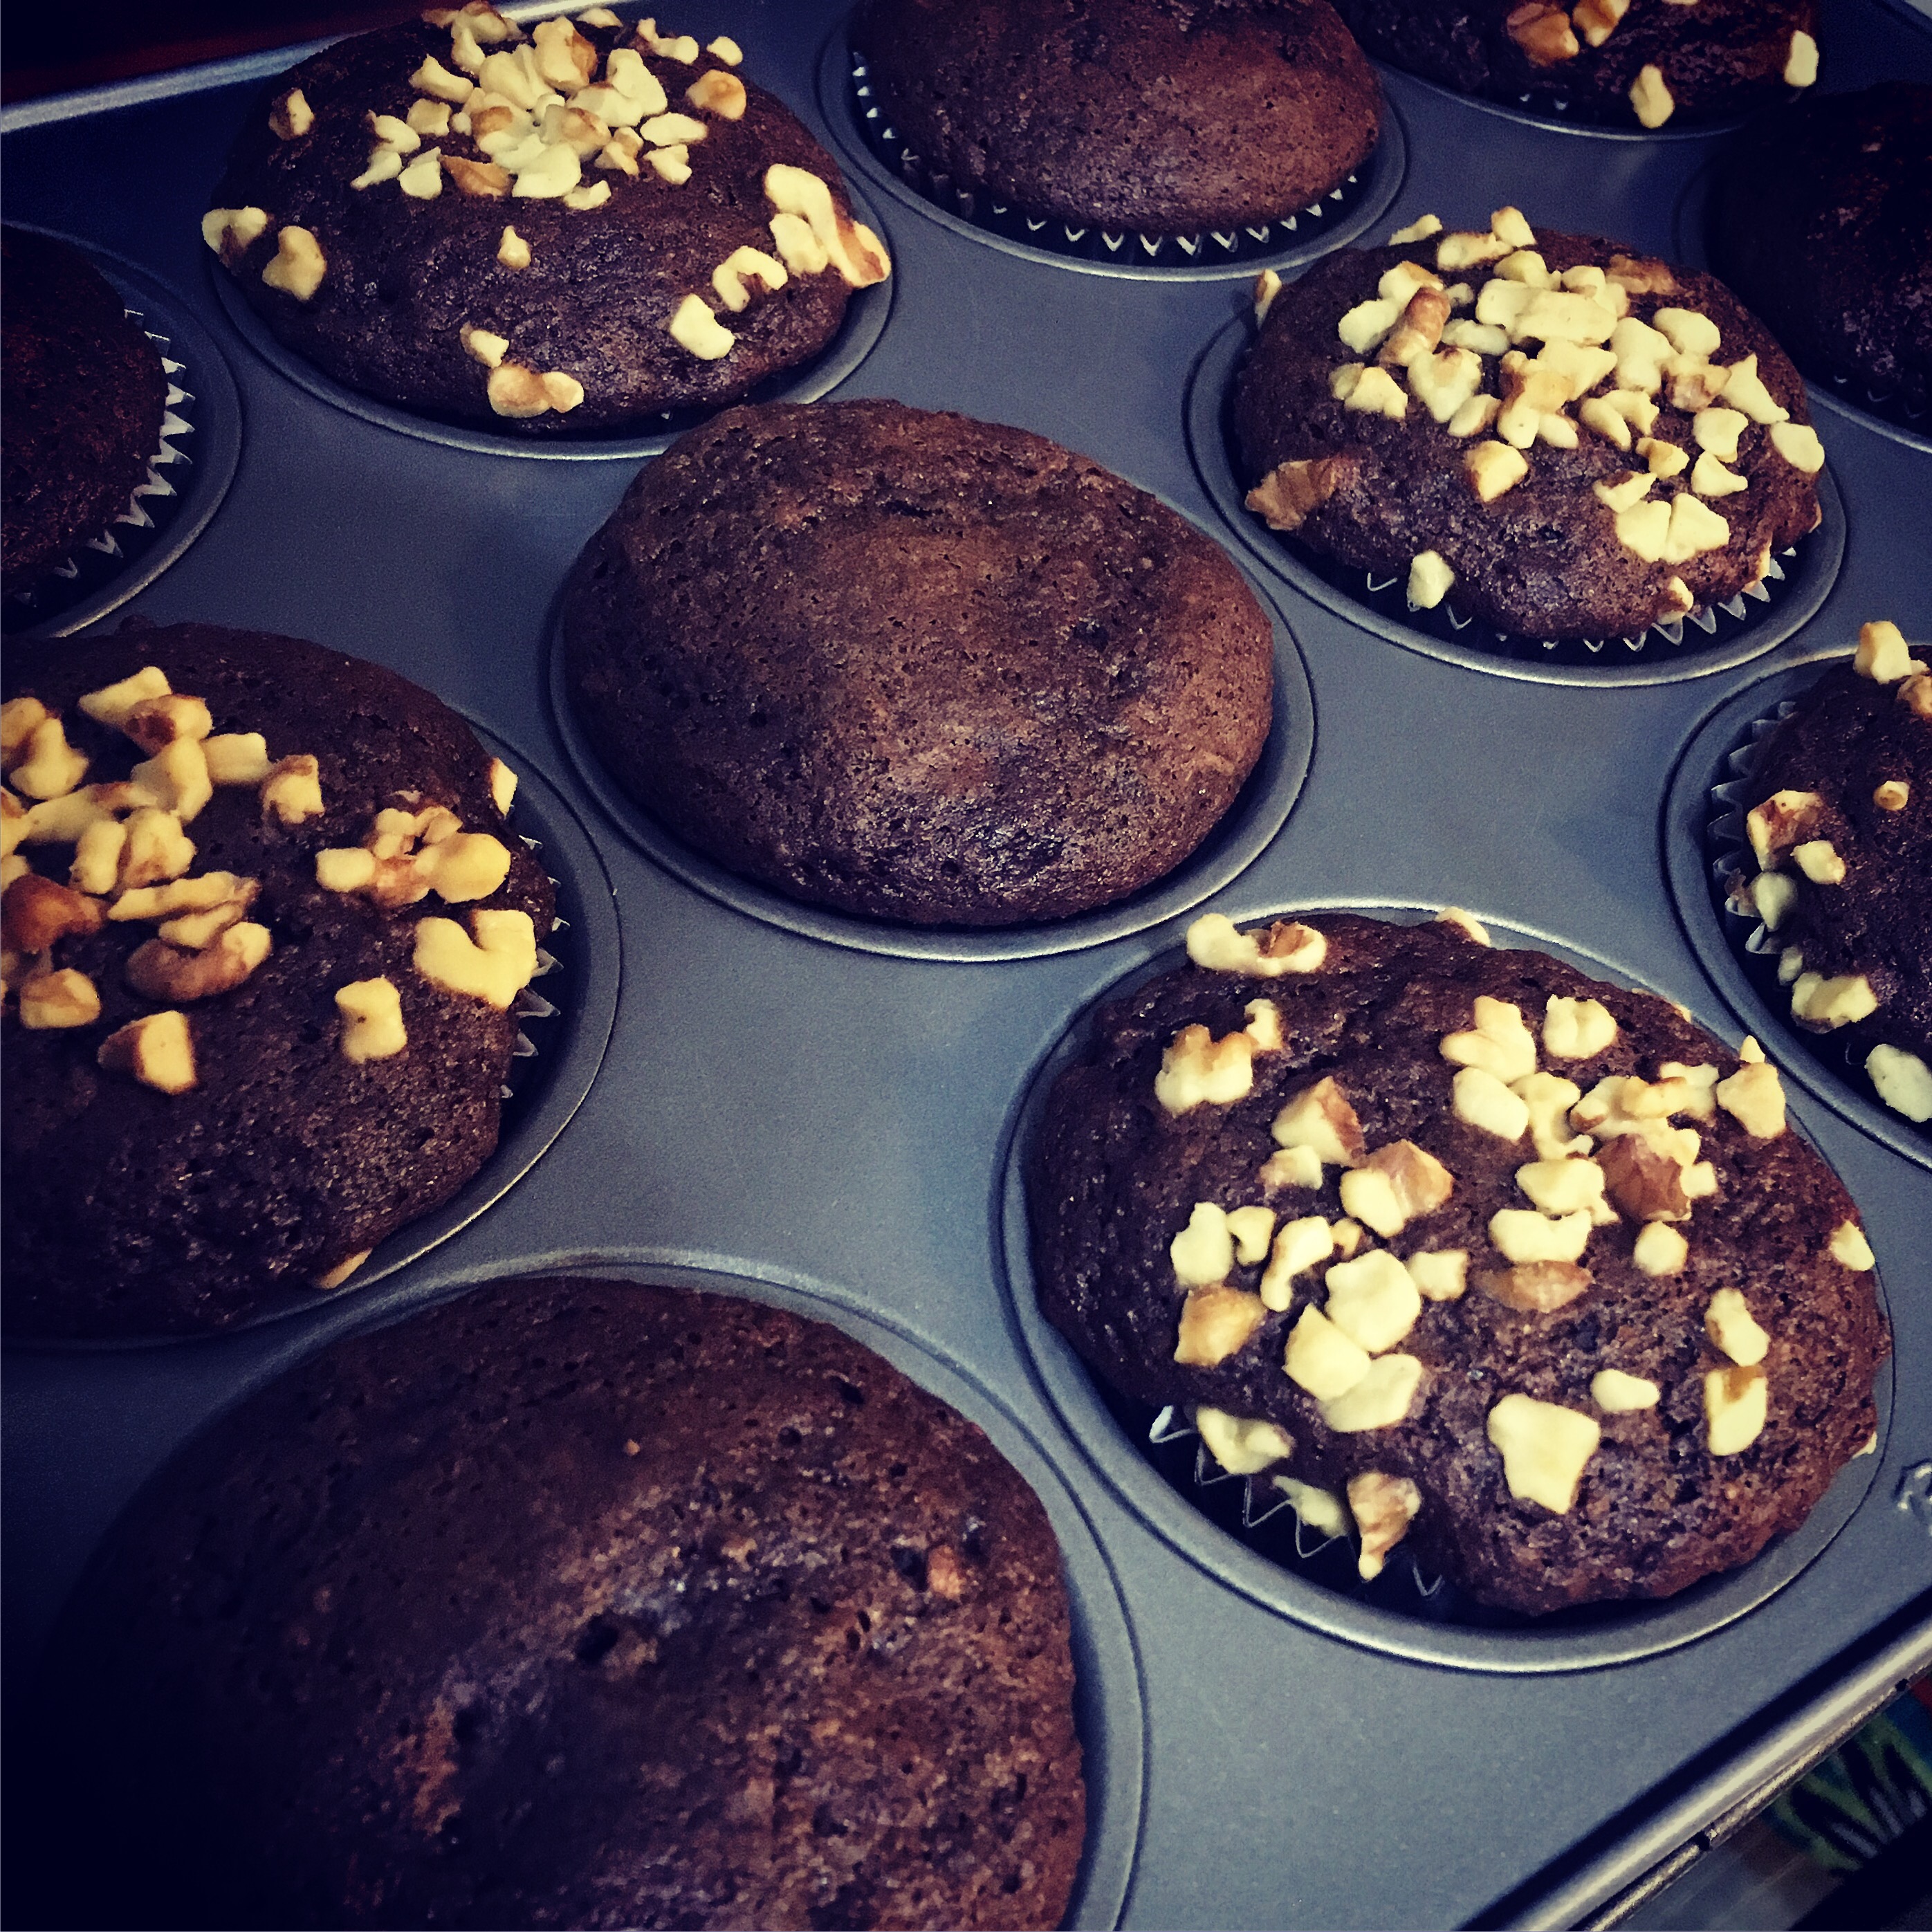
And for those who didn’t get the chance to see my “chocolatized” (yes I made that word up) muffins:

 Enjoy!


– Jenny V

Advertisement

Spicy Tips: Do It Yourself Taco Seasoning

If there is one dish that Matt loves to make (way more than I do), it would be tacos. So for the first time on my blog, here is a shared recipe from our cooking adventures that Matt has used for many years.

Normally it’s a dish that comes about when we are down to frozen meat or leftover chicken breast. Because it’s quick, easy, and utilizes ingredients we always tend to have on hand. On taco night, Matt also tends to eat about 7-10 tacos in one sitting…not even exaggerating.

When taco night arrives, Matt has crunchy tortilla shells on the ready, a fresh bottle of taco sauce in the fridge, and diced onion. And of course, if we don’t have shredded cheese, it’s not officially taco night. (For me, give me some soft tortillas, diced tomatoes, and sour cream and I am set! Maybe even some avocado if it’s in season.)

But the one thing you will find absent from our pantry? Pre-made taco seasoning. Because while yes, it may be easy to obtain pre-mixed seasoning in the store, you can absolutely make it yourself! The spices are fairly simple: cumin, chili powder, garlic powder, cayenne pepper (just a smidge), and a dash of paprika. You can also add a little salt and black pepper if you like, but there are so many other things going on with the dish, a little bit goes a long way.

This recipe is a rough guestimate of how much we use in the overall dish, but you can adjust to your liking. Naturally, measuring out spices in our home is not a common occurrence, instead opting for my Great-Grandmother’s method of adding until satisfied. More important though, even if eye-balling it, for the amount of cumin you add, put about half the amount of chili powder in it. You can always add more, but it’s a good rule of thumb.

But I promise you this: you will find this so easy that purchasing pre-mixed will be a thing of the past. It’s cheaper to keep those ingredients in your home and do it yourself. (Also, those spices can also go into other delicious dishes!)

There’s a satisfaction when you do it yourself. The reward is a dish you created more from scratch than anything else. Not every dish can be like that, but incorporating it anywhere you can? Healthy and delicious.

Enjoy!

– Jenny V


Jenn & Matt’s “Taco Night” Seasoning

2 tablespoons cumin 

1 tablespoon chili powder

1/2 teaspoon garlic powder

1/4 – 1/2 teaspoon cayenne pepper

A dash (or two) of paprika

Directions:

1) Combine all ingredients and use on 1 – 1  1/2 pounds cooked ground beef, shredded chicken, or any meat you prefer.

A “Creamy Italian” twist on a summer standard

When summer hits, Matt and I are notorious for the cold salads, as you could tell with my last post about potato salad.

But our main summer salad? Macaroni salad.

We never make it the same way twice, always just grabbing for whatever is on hand in the fridge to try and utilize our food in different ways. Sometimes it’s as simple as onion and celery, other times I toss in some pepper with the onion and maybe some artichoke, and sometimes I pull out some of our frozen veggies and toss a little broccoli and peas in.

This week I felt compelled to make an Italian-style salad with pepperoni, genoa salami, red pepper, and fresh mozzarella. Now normally I would add Italian dressing to the mix, but if you’re like me, this salad is always subject to all the ingredients (minus the pasta) dropping to the bottom of the bowl. And the more you mix, the more it goes.

But not this time. I was determined to incorporate Italian flavors from the dressing and create a cohesive dish. And it hit me: Creamy Italian Dressing! When I make a mayo-based macaroni salad the ingredients never fall to the bottom. Instead, the mayo acts as a cohesive and creates the perfect blend ratio of pasta to its edible accoutrements.

And I must say, it was a success! To add a little more zip, you can always whisk in a little bit of the regular Italian dressing. Trust me, the Creamy Italian will still do its thing. More importantly, before you serve, always make sure to add just a little dollop more of the Creamy Italian Dressing. When sitting in the fridge, the pasta has a tendency to sop up a lot of the liquid, so that little dollop rejuvenates the dish a little bit.

As always, enjoy!

– Jenny V


Jenn’s Creamy Italian Macaroni Salad

1 box rotini pasta, cooked and drained

1/4 – 1/2 cup pepperoni, diced

1/4 – 1/2 cup genoa salami, diced

1/2 container fresh mozzarella, quartered

1/2 red bell pepper, diced

1/4 cup vidalia onion, diced

1/2 cup Creamy Italian Dressing

1/4 cup Italian Dressing

Italian Seasoning


Directions:

1) In a large bowl, add pasta, pepperoni, salami, mozzarella, red pepper, and onion. Mix.

2) In a 2-cup measuring cup, add Creamy Italian and Italian dressing. Whisk together until smooth.

3) Add dressing over pasta and mix thoroughly. Sprinkle Italian Seasoning over mixture, just a few taps, and mix.

4) Cover and refrigerate minimum 4 hours to overnight before serving.

Giving potato salad a face-lift

When I think about making potato salad, it tends to make me break out in a sweat. Because while the finished product looks easy enough, just the notion that the potato needs to be perfectly cooked enough where a fork can go through it, but not crumble….is daunting. But Matt had faith in me this week as he played a double on Monday and left a request for potato salad on my plate. And I was not about to let him down in the slightest.

To make potato salad, red potatoes are truly the best one. They’re durable and you can pretty much leave the skin on them when you cut them into bite-sized pieces. Just make sure each potato is washed thoroughly and that any eyes or bad spots are removed. And especially since we needed to move the last of our red potatoes, it was a win-win.

Place your bite-sized pieces into a pot of cold water on high heat and let it come up to a boil. To check if they’re cooked through, try to locate the largest piece and stick a fork in it. If the fork goes through with ease, then they’re done. And if you’re nervous like me, after you check the potato, turn off the heat and let the potatoes sit in the hot water for a minute or two. Trust me, they’re still cooking when you do this.

Since our fridge was a little more barren of the essentials to make potato salad, I learned to get creative. This is quite typical in our home when making a multi-layered type salad. (Seriously, watch me make a garden salad or macaroni salad and you’ll understand.) I kinda think of it like a “hodge podge” dish, so to speak.

Because instead of yellow onions, I used the remainder of green onions that we had from our last shopping trip. Celery was replaced by fennel stalks. And for a little pop of color, some diced red bell pepper.

The only thing I think it’s missing? Hard-boiled egg. I may need to attempt this version sooner rather than later.

If you’re willing to get over your fears, it’s amazing what you can accomplish in the kitchen. Matt believes I don’t give myself enough credit. And with this potato salad recipe, I’m sort of inclined to believe him.

Enjoy!

~ Jenny V


Jenn’s “Hodge Podge” Potato Salad

6-7 medium red potatoes, cubed

1 1/2 cups mayonnaise

1 tablespoon white or cider vinegar

1 tablespoon yellow mustard

1 tablespoon honey dijon mustard

1 teaspoon salt

1/4 tablespoon pepper

2 fennel stalks, diced (you want about a cup)

1/2 diced red bell pepper

1/4 – 1/2 cup green onion, chopped

Paprika, if desired


Directions:

1) Place cubed potatoes in 3-quart pan in cold water. Cover and heat to boiling. Allow potatoes to continue cooking in boiling water until larger pieces of potato are soft enough to let a fork go through. Turn off heat and allow to sit in water another 1-2 minutes before draining thoroughly and placing in large bowl.

2) Mix mayonnaise, vinegar, mustards, salt, and pepper in a large measuring cup or bowl. Whisk until smooth.

3) Add fennel, green onion, and pepper to potato mixture. Add dressing and stir thoroughly to cover. Add sprinkle of paprika and continue mixing. Cover and refrigerate for 4 hours to overnight before serving.


Going “Swiss” on a classic….

If there’s one thing Matt knows about me, it’s that I have a love for certain foods.

Pickles, Fried Chicken, Sushi, Mashed Potatoes, Cauliflower, a nice rare Steak, Fresh Berries, and most importantly…..Macaroni & Cheese.

I know, not all my options are exactly healthy, per se, but I love my comfort foods just the same. There’s a decadence in them that I only indulge in when I am in need. (i.e., womanly issues, long day at work, etc.) I’m not one to reach for mountains of chocolate. I’m more the one to reach for a nice heaping bowl of mashed potatoes or homemade mac….and sometimes the occasional delivery of sushi.

But Macaroni & Cheese can occasionally get boring, so playing with the flavor combinations are quite fun when you get the chance.

For Valentine’s Day, Matt and I are not big on going out and spending an exorbitant amount of money on a meal we can make at home. No. In fact, we prefer to cook that decadent meal in the comfort of our home.

I had been toying around with the idea of a Bacon & Swiss Mac & Cheese for a while now. While I’m not a fan of cold Swiss (like my husband with a roast beef sandwich), melting it has yielded some tasty meals, namely Chicken Cordon Bleu. So why not to Macaroni & Cheese as well?

Adding the shredded Swiss to the roux and milk mixture proved to be a delicious change: the bite of Swiss was tempered with grated Parmesan cheese and the saltiness of the bacon. The combination provided decadent flavors to a rather inexpensive meal. (And Swiss is a nice alternative to Gruyere, which can run you about $30/lb….indulge only when it will make or break the dish!)

Sometimes our favorites need a little bit of a facelift….and the result can be quite delicious!

Enjoy!

~ Jenny V


baconswissmaccheese

Jenn’s Bacon Swiss Macaroni & Cheese

1 box elbow macaroni

1 package shredded Swiss cheese

1/4 – 1/2 cup grated parmesan cheese

2 1/2 – 3 cups milk

2 Tablespoons butter

1 – 2 Tablespoons flour

1/2 package bacon, cooked until crispy and chopped into bits

1/2 cup panko bread crumbs

1/8 block Velveeta, cubed

Salt

Pepper

Directions:

1) Prepare pasta to “al dente”. Drain well and place in large glass baking dish. Sprinkle almost all bacon over the pasta and save a little bit for topping, probably around 1-2 Tablespoons.

2) Pre-heat oven to 350 degrees. In saucepan on medium heat, combine butter and flour to create a roux, then gradually add in milk. When milk starts to thicken, add in Swiss , Parmesan, and Velveeta, stirring until cheese has melted. Add in salt and pepper to taste. Once at desired flavor, remove from heat. (**Save a little bit of Swiss and Parmesan for topping**)

3) Pour sauce mixture over macaroni & bacon, mixing thoroughly until sauce coats all pasta. Sprinkle remaining cheese, bacon, and bread crumbs over the top, then bake in oven for 30-40 minutes. Remove and serve.

For the love….

In honor of Valentine’s Day (which is now over and will be replaced with half-price off candy day), I would love to talk about little bit about that amorous holiday….and food, starting with a quote from a chef that Matt and I love watching.

It was Jacques Pepin who said it best:

I would advise people to cook for the right reason: for love.

Pepin truly grasped that cooking was more than just about the necessity to feed ourselves. There’s a passion to be discovered, the way certain ingredients meld with other ingredients, the mathematical equation of a great meal, and most important: being able to share that with someone special. (Even if that special person is yourself.)

Matt and I share many great meals, even with our friends and family. I know not everyone appreciates that we are prone to taking pictures of our food, but it’s my style, it’s who I am. I take pictures of our creations (sometimes the creations of others that look just as amazing), and love the feedback! What’s even funnier is that Matt knows I love to do this and is the one to encourage the picture-taking before I forget to, especially when he has taken that first bite and I’m still making mine look perfect. (Sorry, force of habit to add that little dash of parsley, basil, parmesan, etc. to give it that “pop” factor.)

And the meals are not always perfect, but in the end we can always pull something fun together. I absolutely adore the way he pushes for simple meals with few ingredients and I want to add just one more thing that absolutely complements the dish. Sometimes I get my way and sometimes not so much. (With great passion in the kitchen, it can lead to an argument or two on who is leading this meal prep.)

But the love is there….and it’s especially in the leftovers.

Because when I get to bring last night’s meal to work and eat that for lunch, I’m still tasting the love behind it all. Whether it be as simple as grilled chicken with a salad or a more complicated Zuppa di Pesce, I know that my husband wanted to make sure that I had the most delicious lunch for the next day. (In fact, he even asks me to call him at lunch just to tell him how much I enjoyed my meal…and as a nice reminder that later on that day we are going to get to make another great meal.)

I have been filling my time with that love, so I have plenty of new dishes and stories to share with you readers.

So stay tuned and as always….enjoy!

And to all of you….I hope you had a wonderful Valentine’s Day, whether it be with your spouse, just you, with friends, and anything in between. While I encourage you to share love all year round, a holiday dedicated to love can’t be that bad either.

~ Jenny V

The greatest honey love of all….

A while ago I had posted about curry powder, which leads me right back to the recipe that required it first: honey chicken.

A few well-known facts about my honey chicken recipe:

It’s super easy to make. (I mean it. If you can master that curry powder recipe, then this will be a breeze, especially since the curry powder is a key ingredient in this dish. And if you need a refresher on the curry powder, then just click here.)

You need to be attentive to this dish. (Once you see the picture, you’ll understand why. You want that golden color with just a hint of browning when you bake it, so a lot of love and care goes into this meal. But again, it is easy so no worries. And when I mean easy, I mean super easy.)

My husband goes crazy for this dish every time I make it. (It’s one of the few leftovers he’ll eat over and over again….and if you know Matt, he’s not a big leftovers kind of person.)

And the sauce that is created while baking? Yummy is an understatement. It’s gooey and buttery and sweet with a hint of salt. Trust me on this, if made right the outside looks sticky and sweet, but that salty savory bite is worth it. Also, the yummy factor applies when you add a side of mashed potatoes or possibly egg noodles too. (You need a carb or starchy side because honey chicken is a great “stick to your bones” type of dish.)

I love the way sweet ingredients can lend themselves to savory dishes….be adventurous and give them a try!

And yes, enjoy!

~Jenny V


Jenn’s Honey Chicken

1 package of chicken thighs, bone-in, fat slightly trimmed (if you’d prefer)

1 stick unsalted butter, melted

1/2 cup honey

1 teaspoon curry powder (refer to my Curry Powder recipe)

1 teaspoon salt

1/4 cup yellow mustard

Directions:

1) Pre-heat oven to 350 degrees.

2) In large baking dish, place chicken thighs, skin side up.

3) In large measuring cup or small bowl, combine remaining ingredients and whisk until mixed, then pour mixture over chicken evenly. Make sure to coat each piece.

4) Bake for 75-90 minutes, basting thighs in mixture every 15 minutes. When skin looks golden and starts to take on a deep brown color on most of the pieces, remove and serve.


Spicy Tips: Turkey Leftovers….a delicious aftermath

Ah, Thanksgiving has come and gone. For the week following, we stuff our faces with turkey, mashed potatoes, stuffing, and all the cranberry sauce that we can eat. (Except Matt….cranberry sauce is just not his thing….unless I can find a good use for it with our leftovers.)

A week later….that once decadent plate of turkey goodness starts to become mundane. And there are only so many times that one can make a leftover plate or turkey sandwiches. This is when Matt and I start to get creative with ways that we can move the leftovers, and it becomes like a game to see how many new recipes we can think up.

Yes, turkey stock may be the prime suspect of leftover transformation (and some of the best soup you’ll ever have), but we have gotten into dishes like fried turkey wings (flour them first before you fry….you’ll thank me later), turkey pot pie (a revelation in itself…and a recipe I will share soon), and our newest creation….Thanksgiving leftover Spring Rolls!

Now, I’m aware there are videos about doing this with egg rolls, and I had that pointed out several times over to me when I initially posted the picture of our dish….but I’m telling you that if you want a lighter, potentially crispier outside, go for the spring roll.

They’re quite simple to make. Just make sure that if you cook the rolls in batches, that you move the rolls to make sure they won’t stick to one another. Not for long, mind you, because eventually when they’re close to done, they stop sticking to one another.

Also, you can make these as thick (or thin) as you like! Sometimes a thinner roll will cook quicker than you even realize, so definitely watch when you make them.

And as always….enjoy!

~ Jenny V


 Jenn’s Thanksgiving Leftover Spring Rolls

1 package spring roll wrappers (about 16 to a package)

1/2 to 1 lb. turkey, finely chopped

1 box of stuffing, prepared

1) Turn on fryer to 350-375 degrees or heat oil in a pot on the stove until that temperature.

2) In a round cake pan, fill halfway with water. Take one spring roll wrapper and soak for 15-20 seconds. Remove and lay flat on paper towel.

3) Spoon one tablespoon of turkey and 1-2 tablespoons of stuffing towards one end of the wrapper. Fold in sides and roll. Place in a pan. Repeat this process until all wrappers are used.

4) Place 3-4 pre-made rolls into fryer, watching to make sure they don’t stick. Cook 2-4 minutes or until rolls stop wanting to stick to one another. Remove and place onto plate with paper towel to remove excess oil. Repeat process until all rolls are cooked. Serve with turkey gravy or non-jellied cranberry sauce for dipping.


Something “doesn’t” smell fishy around here….

When it comes to tuna fish, I kinda have this awesome recipe in my arsenal.

It took years to perfect, years of trying various flavor combinations and different ingredients to try and counteract the fishy smell….but I have it….and it is glorious (and simple)….because tuna fish is glorious (and simply delicious). Or at least Matt seems to think so. I mean, he is the tuna fish connoisseur.

It started when we started dating.

I consider this one of the first meals I remember having with Matt. (He’ll, of course, regale you with the steak sandwich and roasted potatoes story….or the homemade roasted garlic mashed potatoes and how I scarfed them down like I was going to the electric chair….but this one resonates with me still.) With whatever ingredients were available to make it, we would make tuna fish sandwiches accompanied by either fries or potato chips. The simplest of meals do tend to make for some of the best dishes, in my opinion.

Eventually, instead of adding vinegar to the tuna and mayo, lemon juice made an appearance and not only counteracted the smell and provided that acidity that I so desperately crave with creamy mayonnaise, but removed the fishy flavor as well. (Also, tuna and lemon? They really pair well, hot or cold.) Salt and pepper replaced by copious amounts of dill….which is a revelation in itself. I’m serious here, dill is the answer. I can’t begin to explain why, but you’ll understand when you add it. And instead of plain bread crumbs (if you’re gluten free, these can be omitted), lemon pepper panko bread crumbs. (No joke, the flavor that they add? Not to sound basic, but I can’t even. And if you want salt and pepper, you’ll find it in those bread crumbs.) Also, I find that chilling the tuna fish cans in the refrigerator before use is a beautiful thing.

The one bugaboo that most might find an issue with is that I use tuna fish packed in oil. Yes, oil. Tuna in water is fine, but I feel it dilutes the flavor a little and breaks the tuna down way too much. Canned tuna in oil, in my opinion, lends that little extra bit of fat (even with mayo, it’s needed, because Tuna is rather lean for me). We actually had heard about chefs on the Food Network who prefer oil to water, and once we tried tuna in oil, we have (tried) to never buy tuna in water. (Although, if there is a sweet sale, compromises can be made.)

And to add a little Italian flair, switch out the bacon with some fried prosciutto. (As Alex Guarnaschelli would say: growllllllll)

And as always….enjoy!

~Jenny V


Jenn’s Ultimate Tuna Fish

3-4 cans Albacore Tuna Fish, chilled and packed in vegetable oil – strained and flaked

1 lemon, juiced (if you don’t have fresh lemon, add about 1-2 tablespoons of lemon juice)

1/4 cup lemon pepper panko bread crumbs (can add more if tuna mixture is too runny)

1/4 cup mayonnaise (to start, add more if needed)

2 heaping teaspoons dill (I use dried because it’s easier to handle, but you can use fresh if you’d like)

Your favorite sliced bread (or wrap-just make it something you love)

Directions:

1) In a small mixing bowl, add strained tuna and using a fork, flake the fish. Add dill, lemon juice, and bread crumbs into bowl. Mix thoroughly.

2) Add mayonnaise and mix until incorporated. If too much mayo, add more bread crumb. If too dry, add more mayo. Serve on your favorite bread or wrap. Makes about 4-6 sandwiches.


Spicy Tips: How to Move Your Halloween Candy (Without Throwing It Out!)

So if you’re like me and Matt, it’s the week after Halloween and you are left with copious amounts of chocolate in your home. We over-bought candy in ratio to the amount of trick-or-treaters in the neighborhood and as a result….were left with the majority of the candy we had purchased.

At first, picking up and eating a piece here and there is fine. Yet after a week of nothing but candy….I’m ready to scream!

But it’s alright, over-buying of Halloween candy seems to be a yearly tradition that all of us appear to go through. (And there’s only so many days in a row that one can grab for a Kit-Kat or Snickers without getting bored.) It reminded me of Thanksgiving, and how at Thanksgiving after we stuff our faces silly, the leftovers need to be “re-invented” in a way so that food is not wasted.

So with our large plastic bowl filled with all the candy that one can imagine, and as the baker in our house, I got to thinking about ways to make the candy move in more creative ventures….and that’s when I decided to make Halloween Candy Cookies.

Using the same recipe that we have to make Chocolate Chip cookies, Matt and I substituted the chocolate chips for M&Ms with chopped up pieces of Snickers and Milky Ways.

And the results? Absolutely delicious!

The caramel oozed out of the cookie just perfectly. And the nougat proved to melt just right into the batter, coupled with that crunch of peanut and candy shell. What we were left with was cookies….as Emeril would say….kicked up a notch!

So if you’re like me and you find that Halloween has left you with more chocolate than Willy Wonka….don’t be afraid to put that candy to good use and bake with it! Cookies, brownies, cupcakes, cheesecake–you name it, I’m sure you can (and will) find a great use for that candy!

And if you’re like me, already planning what to do with your children’s candy. (Or in my case: future children’s….when we’re ready. I sense bargaining in future years.)

Enjoy! (And happy baking!)

~Jenny V